Paint Cup Basic Operation Guide
Installing and removing paint cup
Use the tool to install or remove the paint cup with the fluid nipple for the spray gun and the nut for the cup.
Under-tightened parts may cause paint leaks or "irregular breathing".
Cleaning before use
Please clean to remove foreign objects and oil attached to the spray gun and the paint cup before use.
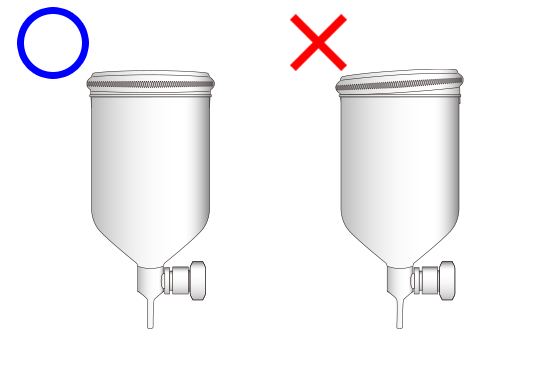
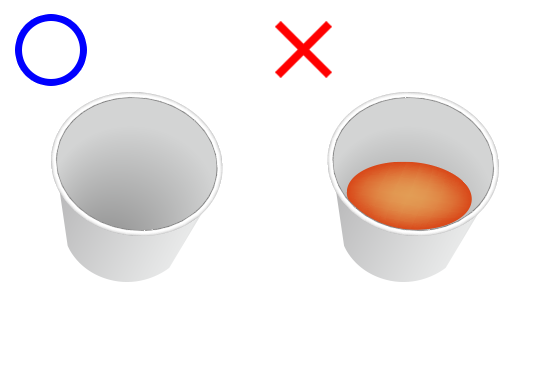
Paint cup orientation
Always use the paint cup perpendicular to the ground.
Cup lid
- Make sure to attach the cup lid horizontally to the paint cup.
- Make sure that the cup lid has been attached during coatings.
- Attach the cup lid carefully so that it does not come off easily to prevent paint leaks during coatings.
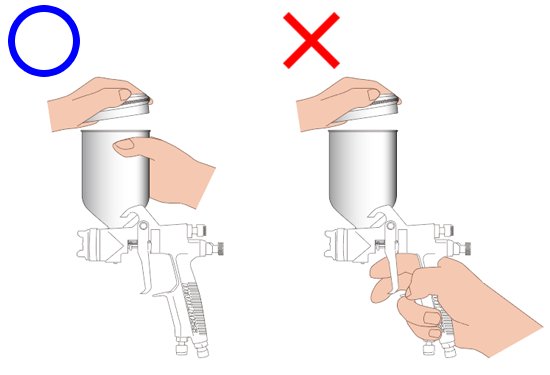
The position to attach the lid varies depending on the cup. - Open and close the cup lid while holding the paint cup body.
Do not open or close the cup lid while holding the spray gun body.
Paint leaks or backlash may occur if the connector part of the paint cup becomes loose.
For people who are concerned about the paint leaks when the cup lid becomes loose
An optional GFC-400 resin lid (available only for 400mL paint cups) can be used.
What to do when the free angle type of cup becomes loose.
Tighten (loosen) the cup with a tool when it becomes loose (tight).
This type of cup may spontaneously rotate during coatings if it is not tightened enough.
It may be too old to use when the rotation could not be improved even after being tightened.
Replace the paint cup with a new one.
When coatings are done
Do not leave paints or cleaning thinner as they are when coatings have been finished.
Doing so may cause clogs, mixture of different types of paint and/or condensation.
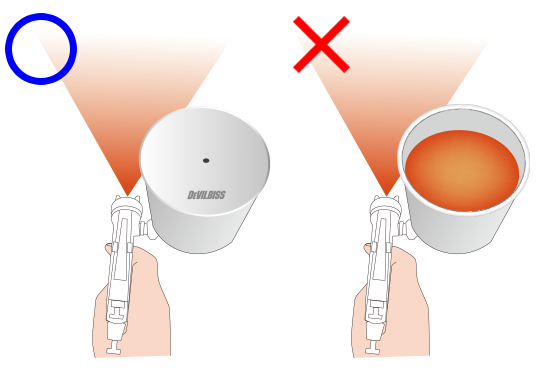
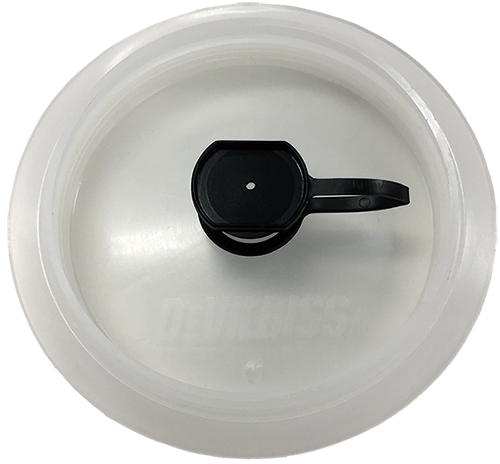
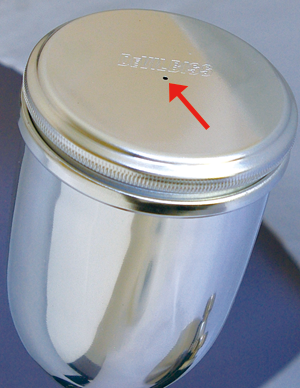
The hole in the center of the cup lid
Do not block the hole in the center of the cup lid because it is an air intake.
Otherwise irregular breathing or bad spraying performance may be caused.
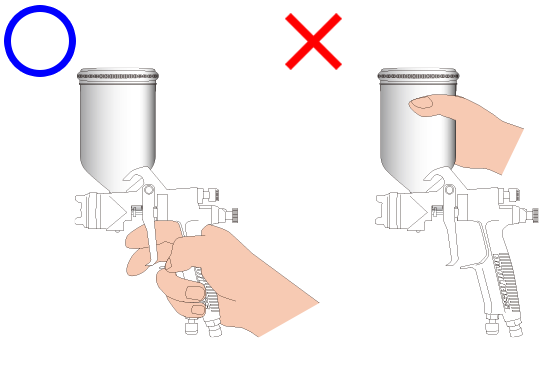
Carrying the spray gun
Do not hold the paint cup when carrying or holding the spray gun body.
Paint leaks or backlash may occur if the connector part of the paint cup becomes loose.